Selecting your shop table
The first step to mounting a metalworking vise (sometimes spelled vice) is to pick the right table to mount it on. A good mid range vise will weigh up to 50 or 60 pounds, with more expensive models weighing even more. You will want a heavy table with a wide sturdy base. You also want table legs that end in wide feet. Avoid narrow and light tables; these tables run the risk of tipping over or breaking under heavy workloads.
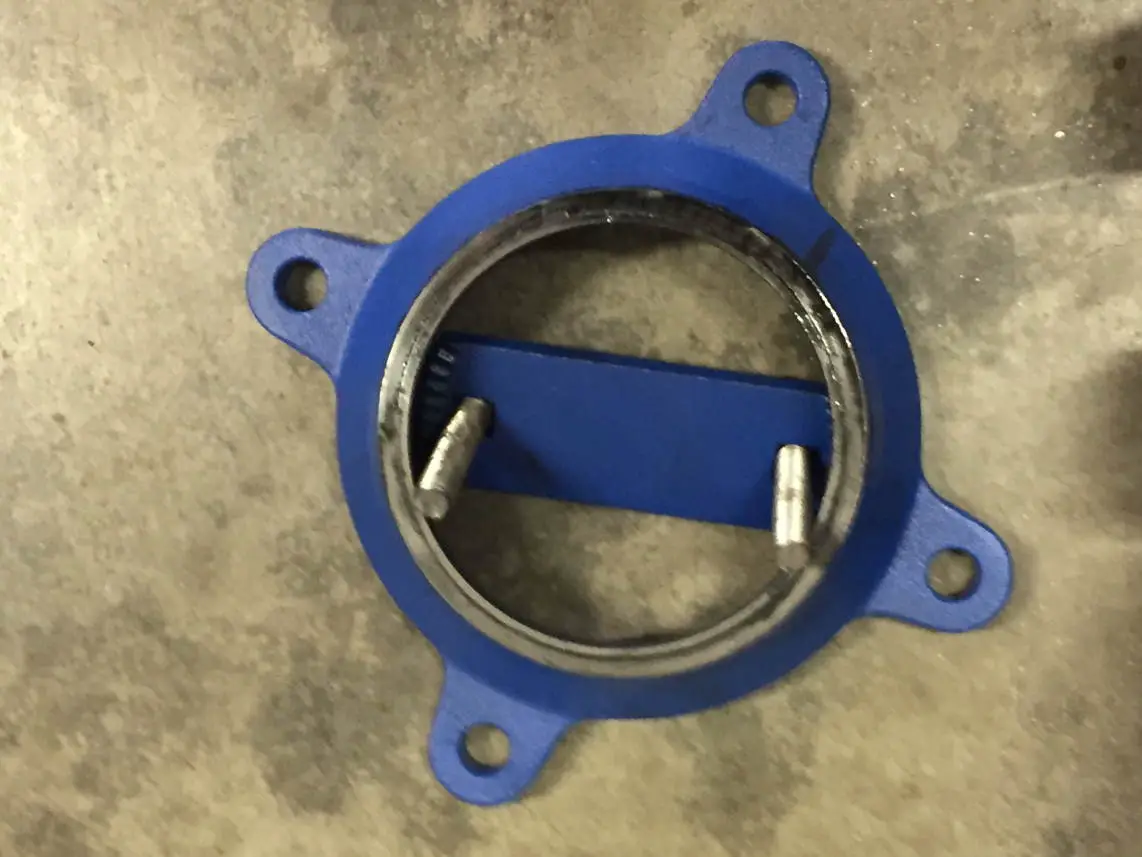
Position of vise on shop table
Once you have selected the proper shop table, it’s time to to pick the spot where you will place your vise. Conventional wisdom dictates that right handed people should place their vise on the left corner of your shop table. Left handed people should do the opposite, and place their vise on the right hand side of the table. Make sure to place your vise close enough to the edge that all handles, rotating jaws/heads, and swivel bases are free to move without impediment. It’s very easy to test this before bolting your vise by actually moving the different vise pieces around and ensuring that no piece bonks into the table. I also recommend placing a LONG piece of stock into the vise jaws to make sure that it can clear the table when placed vertically.
People with multiple vises in their shop will sometimes place the extra vise in the middle of their table along the edge. This is fine if you have vises to spare, but I wouldn’t recommend doing this for your first vise. A vise that is not placed on the corner will have limited mobility if it has rotating heads and swivel bases. It will also be more awkward placing some work pieces in a vise that is not on the corner.
Some people will install an additional piece of wood or metal underneath the table to beef up flimsier tables. My yost 750-di instruction manual recommends a 18″x18″x2″ piece of wood or 18″x18″x1/4″ metal plate for this task.
Once you have the vise in a working position, mark your table through the vise boltholes for drilling.
Drill Bolt Holes
Drill the bolt holes where you marked them. Place your vise over the drilled holes and put your bolt through the vise bolt holes. Lock the bolts by placing a lock washer on the underside of the bolt and sealing it into place with a fastening nut. U
And viola, you are done. The actual installing of the bolts isn’t too bad, but it is important to get the placement correct so that you are not drilling holes all over your table.
Another recommendation I have is to use the bolts recommended by the manufacturer. For example: my yost 750-di is supposed to use grade 5 hex bolts that are at least 2″ longer than the table thickness.
Mounting a Portable Vise
There are different types of mounts on portable vises. The most common is basically just a C clamp. To use it, turn the clamp handle counter clockwise to open the clamp. Place the clamp on a smooth flat part of your workbench, and the turn the handle clockwise to tighten the clamp. The only real gotcha here is that many work surfaces will have ridges on the underside of the table, these can compromise the clamping ability of your vise if you do not account for them.
It’s not a bad idea to test the sturdiness of your clamp job with a little shake. You don’t want the vise falling off the table when it is burdened with your work piece.
Smaller vises will sometimes have a vacuum clamp. These are generally not intended for metalworking, and I don’t recommend using them.